This is a quick guide for getting the Rune upgrades, Master sword and Hylian Shield in The Legend of Zelda: Breath of the Wild (Wii U or Nintendo Switch version).
When you wake up in the Shrine of Resurrection, grab your slate and clothes and run outside. From there, head straight forward (Not off the cliff! Seriously, follow the path until you get to the bottom of the mountain). If you keep moving north, you’ll find the first Tower’s console.
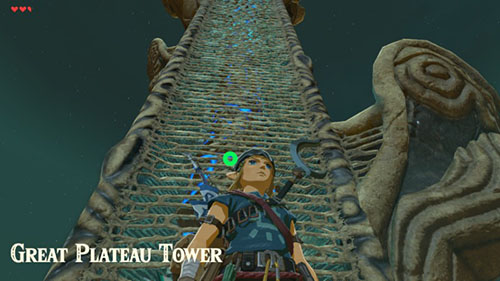
The Great Plateau Tower, after rising.
Upon activating the console, it’ll erect out of the ground, and activate the first part of your map :
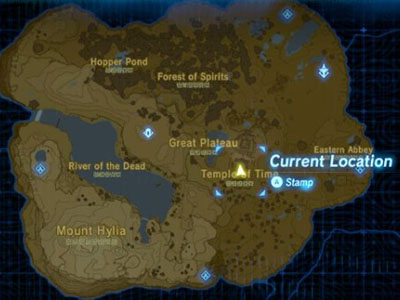
You’ll refer to this A LOT. Either in game, or here: PAY ATTENTION!
After climbing down, you’ll speak with the old man and he’ll offer a trade: Four Spirit Orbs for his Paraglider. (Whether or not you agree) You’ll now have to seek out the four Shrines on the Great Plateau, and complete them while getting the runes.
Directly in front of you… due northwest of the tower… You’ll find your first Shrine! (The old man will more or less point it out), if you speak to him.
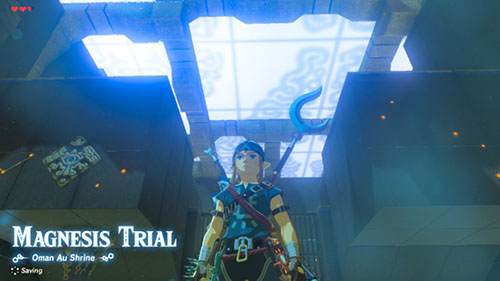
Easy! Really, just float stuff!
The shrine itself is simple after you upload the Magnesis Rune into your Slate!
From this shrine, head south until you hit the Temple Of Time, then east to the Eastern Abbey! (Obviously!) There are decayed guardians here, so be careful! Do not stay still, keep climbing over walls until you get to the Shrine! As you can tell from the picture:
It’s far from the tower and first shrine, and is surrounded by a small maze. But unlike other Zelda titles, you can easily climb over the walls and get here! So don’t worry about reaching the shrine, if you can’t see the top of it over the walls: simply look for the cracked wall/rubble. Climb over the wall on either side and you’ll see the shrine on the other side.
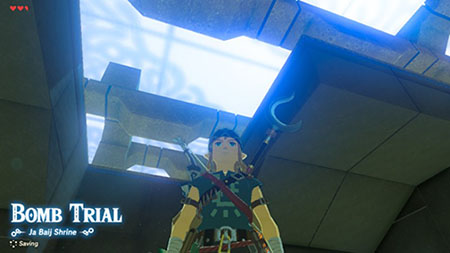
The Bomb Trial is easy. Simply use the Remote Bombs you upload into the Slate to blow up the crumbled walls inside. The WORST part is a platform floating back and forth to a cracked wall and to the area you’re at: Simply lie a bomb on the platform and let it explode when the platform reaches the wall. IF the last part is looking too difficult, simply place a bomb inside the shoot on the right side of the room, the pump (thing?) will push it into the cracked blocks, set the bomb off to break them, then go to the next Orb!
The next Orb’s southward into the snowy area behind the Shrine Of Resurrection. You obviously should’ve been collecting EVERYTHING you passed on your way here, if you’ve seen Spicy Peppers on the way there, cook them with any meat or plant you find. (Not monster parts, ore and other plants/animals with it’s own effect!) Upon doing this, it’ll add the Spicy effect to anything you cook! When you eat it, it’ll be safe to climb up Mount Hylia to the old man waiting for you… (Look up before entering the cold area, you MIGHT see him from up high. Further make sure you’ll look from the “neutral” area: (as you’ll lose hearts quickly while in the snowy area.) Once you reach the old man, he’ll give you the Warm Doublet. Wear it to be warm the entire time, and head to Northwest (from facing the direction of the tower) and you’ll find this shrine.
The Cryonis trial is incredibly easy.
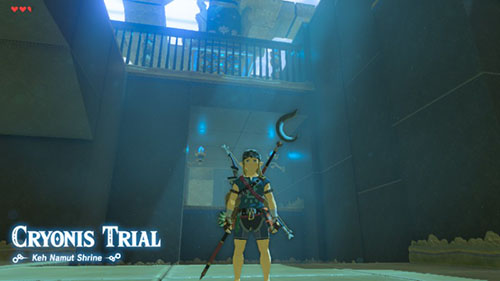
This trial’s “ice” and easy to do!
Simply erect ice in the puddles of water in this Shrine. And climb to the next area, the seasaw’s easy too, grow a pillar under one side the climb up from the lowered one. After getting the orb, head east!!!
The Stasis trial’s easy to get to, you simply head southeast (from the River Of The Dead) until you climb up a wall, then you’ll find the Shrine underneath you… Upon going inside, upload the Stasis Rune, and use the Rune as needed to stop the platform and spiked balls, until you can get to the orb! This is the last orb, and your “key” to (legitimately) getting the Paraglider. Now simply go to the Temple Of Time (The old man will tell you too, but will try to mess with your mind…) Go on the right side, find the ladder and climb onto the roof, once you see the Bell Tower, you’ll know what you must do…
PAY YOUR ATTENTION TO WHAT THE KING SAYS, he’ll tell you to go between the mountain peaks. You’ll find Dueling Peaks, Dueling Peaks Stable and Hestu… While traveling in this direction, make sure you keep looking up, if you easily get lost. It’s a straight path: You’ll hit Kakariko Bridge if you’re heading the right way! If you’re like me, you’ll have fun exploring and still get there, albeit coming from behind. (Using the Sheikah Slate’s map, you’ll be able to find the area easy) Upon reaching the Stable, head west and you’ll fund the bridge and Korok next, then head up into Kakariko Village.
Upon reaching Kakiriko, you SHOULD be directly in front of Impa’s house: if you just go forward. (If you come from the “back”, like I did, it literally WILL be in front of you: you’ll be coming from the left of the ho,e…) If you still can’t locate her house, it’s the one that has the guards in front, and a huge staircase. After they stop you, they’ll realize who you are by your slate(?) and let you in. You might see Paya there too! (depending on the time of day…). After going in, you’ll see Impa she’ll tell you the backstory, and will give Symin permission to check your slate (How did she contact him?) After this, make your way to Hateno!
Simply go back to the village’s entrance (straight from Impa’s house). Through the arch way, if you came by Dueling Peaks Stable, you’ll know where to go (There’s sign… After passing Kakariko bridge you’ll get to Hateno fort, go through the wall surrounded by guardians and head up the path spiraling around the lake below.. You’ll see both Hylians and bokoblins on your way up, until you reach a area filled with more with Moblins sleeping around some ruins, Check your map and you’ll see how to get out of the area… (Seriously, I get stuck there still even though I finished the game!) You’ll know you’re headed the right way by seeing either: Nat and Meghyn picking mushrooms or being chased and a path going up into a village guarded by a farmer. After entering, all the Residents will nearly push you in the direction of the lab upon talking to them (for the first time you enter Hateno)! You’ll notice the huge building with smoke rising from the top if you look up, go straight forward through the village and up the path leading up to the lab. You’ll notice windmills, apple trees and a ranch on your way up, showing you’re heading in the right direction. After reaching the top, (And seeing signs literally telling you’re heading there) go inside and talk to the little girl, then the man in the back. He’ll tell you to talk to the director, Purah’ll turn around to surprise you!
After explaining the events of Link’s past, she’ll ask you to power the lab via bringing the blue fire to the lab. Go outside and look straight down… (Not STRAIGHT down but looking around from up here will give a good look at the village’s shape and the path to the top! Go to the blue fire and use ANY wooden weapon to carry the flames up, you can either go through town to use the lanterns to get up (The fire’ll burn up your weapons if you let them stay lit too long). Or go straight from the area via Cryonis: freeze the river and hop across to the otherside without sheathing your burning wood weapon. Then follow the path up to the lab, light the furnace on fire and go inside! Now you’re able to warp there anytime, and if you talk to Symin: He’ll ask you to do a quest then let you buy pictures for the Hyrule Compendium! Purah will give the compendium as well as options to upgrade your runes! After this, you must speak to Impa once more… (Simply warp back to Kakariko if you already activated the shrine there.)
After this… Go straight up from Kakariko to Great Hyrule Forest.
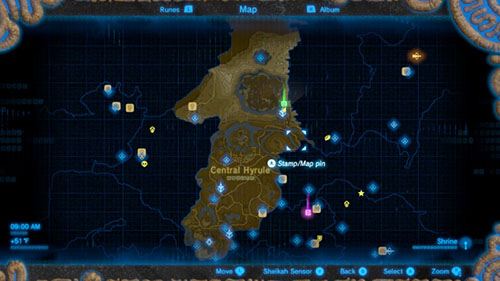
Kakariko to Great Hyrule Forest! From purple to green!
(I SUGGEST STRONGLY TO SAVE THE 4 DIVINE BEASTS before doing this, this will be rough-ish if you don’t have everything you need!) The area’s above central Hyrule, and is close to the tower. You’ll know you’re going in the right direction upon seeing a mysterious fog. Enter it to go into the Lost Woods, here you must find the correct path to get to Korok Forest.
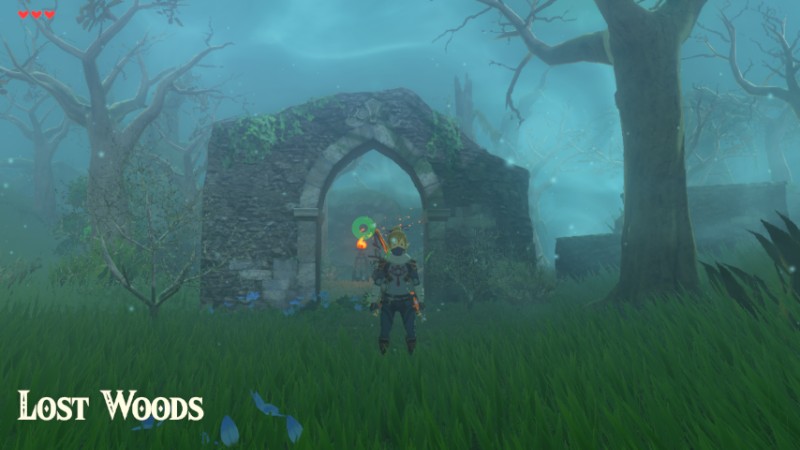
Lost Woods’s fog…
The path is shown via torches and the direction THE WIND’S BLOWING the sparks, follow them until you get to the “checkpoint” near a tree with a chest inside and two torches. From hear go left (Be careful you keep out of the fog, running out of it before it engulfs you helps you keep your bearings) I still remember trying out different paths until reaching the end. Here’s a general direction of where Korok forest’s located from the beginning of the lost woods:
The way out is: →→↑↑diagonal↑diagonal↑↑
This is what I generally followed from my experience, but you must find your own way out of the woods when you get to the checkpoint: Diagonal up, is the last direction the sparks were blowing before you have to search for yourself… After this, you’ll reach Korok Forest! And will see the Mastersword! If you attempt to pull it, you’ll be stopped by the Great Deku Tree. He’ll tell you’ll need more hearts to pull up the sword (If you haven’t gotten more by now…) And will tell you to get prepared, go to the Korok Elder, he’ll tell you there’s a Korok trial in the: east, southwest and west of the Forest to help you pull the MasterSword. Go right from the Kook and you’ll find A shrine Hestu and a path going up to the 1st trial!
First one I’ll explain is the easiest in my opinion: “The Test of Wood”.
This’ll be easy!
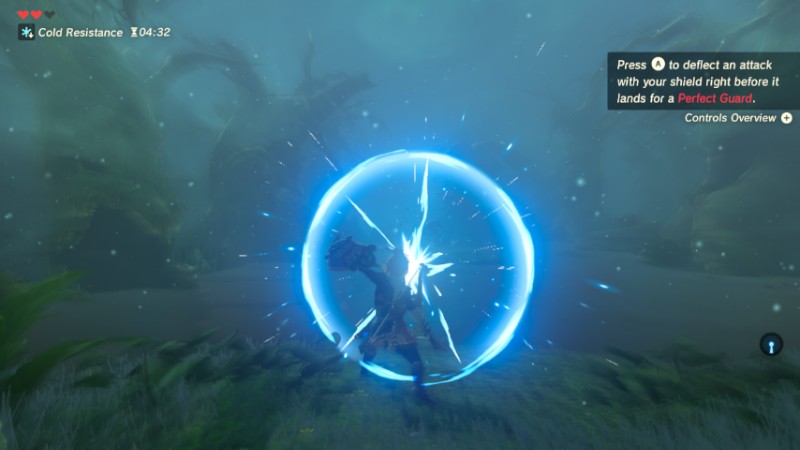
You simply have to go forward using only the Forest Dweller’s Sword, Forest Dweller’s Shield, and Forest Dweller’s Bow, without losing/unequipping them. The BIGGEST challenge is crossing the bog while Stalblin’s shoot fire arrows, but using Cryonis to cross,(DO NOT STOP!) You’ll easily reach the other side and the shrine, next…
I’ll explain: “Trial of Second Sight”
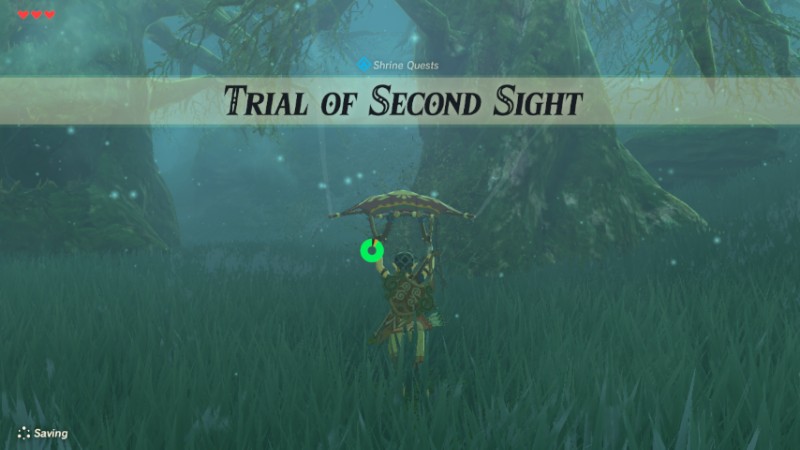
Use Magnesis… seriously, it’s a cakewalk!!!
You simply need to use Magnesis to find your way out via following the now red iron boulders in the tree’s mouths. The BIGGEST problem Is READING the text (It practically tell’s you where to go) and getting a Korok leaf, but there’s plenty floating in the water there. And… bringing the chest with you across the lake(So you won’t have to “talk” to the tree and go back across to get the chest). The Shrine will appear after placing the iron chest in the other tree’s mouth.
Last is the: “The Lost Pilgrimage”!
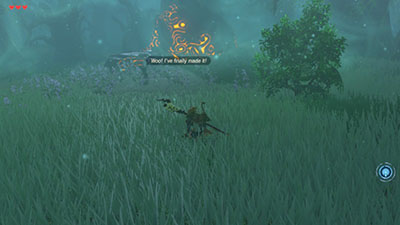
See… YOU CAN’T SEE HIM! (Unless he talks…)
This the worst in my opinion: as you must follow Oaki through the woods to the Shrine while NOT letting him notice you… But the Korok walks REALLY slow, and makes a full circle halfway through the trial. My only advice is to not get the Blue Nighshade plants as they help light the path if you lose track of him. And keep OFF the path, so you can watch him from afar, as you’ll be consumed by the fog. If you’re doing it right, you’ll be watching from a “sidescrolling” view. Carefully follow him until you get to the half log thing(?). Then get away as he’ll now make a full circle, then watch him go up a slope pass the Maraudo Wolf (It’s random if he’ll attack or not: I went through twice. The 1st time it attacked and he hides. The 2nd, Oaki passes by as the Wolf tried to attack me.) After this he’ll SLOWLY walk to the Shrine, after he stops, he’ll “invite” when walk to him, then you can go to the shrine.
These’ll help you get the Mastersword but it WON’T get you the sword straight up: this plus other Spirit Orbs will help you… You’ll need 13 more hearts 1 (adding to your first 3…) For 16 Hearts/the Minimal requirement! You’ll need 4 Spirit orbs for 1 Heart Container,
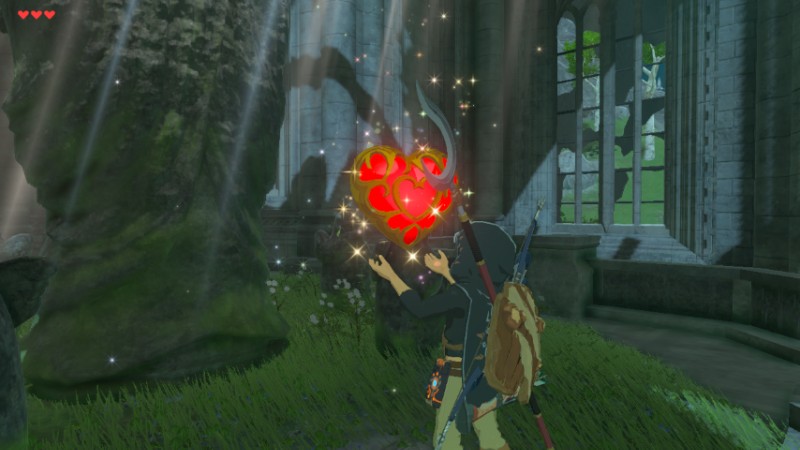
Heart container! 4 Spirit Orbs, for 13 Hearts… equals…
Equaling up to: 52 Shrines you must complete before this. This is the “rough” part, you’ll need to search a lot and the Sheikah Slate won’t help alot either (It barely tracks something RIGHT BESIDE YOU!) During this you should (if you’re going for 100% story wise…) go save the Divine Beasts, and naturally increase Hearts, Stamina, experience (Learning recipes, learn switching runes ect naturally) by this time. It’ll be EASY to obtain the Master Sword and go challenge Hyrule Castle after this! Next comes another piece of equipment that’ll help you more like a Hero!
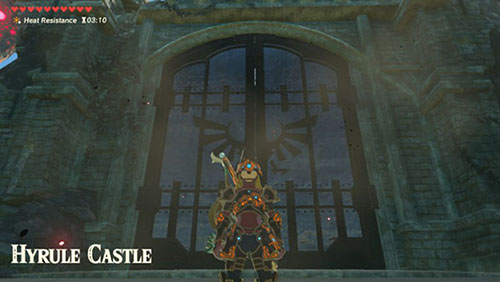
Hyrule Castle’s Front Door!
Now time for the last part: The Hylian Shield! Before you go to Hyrule Castle, you SHOULD have the Ancient Soldier set! Collecting and selling monster parts and ore will get you enough money to buy the parts as well as destroying Guardians. The whole set will be tedious to purchase, but WILL be worth it! A example of how difficult it’ll be is this: I finished everything in this tutorial with only 3 hearts excluding the Master Sword and only had normal equipment, untouched by the Great Fairies… But I had to switch to my completed file to storm the castle and STILL was almost killed MANY times!(I only had food to keep from dying) the full set of armor will help, but won’t completely save you. Carefully getting into the castle will help you be safe-ish for the last part of this tutorial, as you’ll need your body ready when you search it’s dungeon. Upon reaching the front gate, magnesis to pull it open and run inside! Go all the way up the slope to the door, then jump off left and let yourself float down to the LOWEST door… if you found the right one, you’ll be in the: West Passage. Ride the mine cart (via bombs) through it into the: Lock Up.
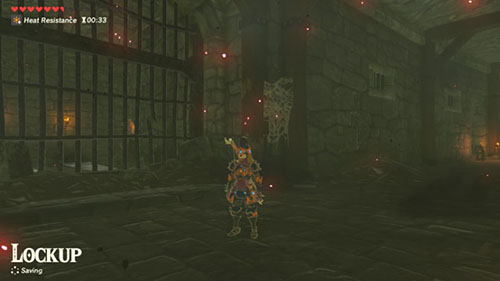
The lockup! Hyrule Castle’s Dungeon!!!
Go forward, avoiding leaving back outside, searching every area until you find a crackedwall/rubble. Destroy it to reveal a Stalnox!!
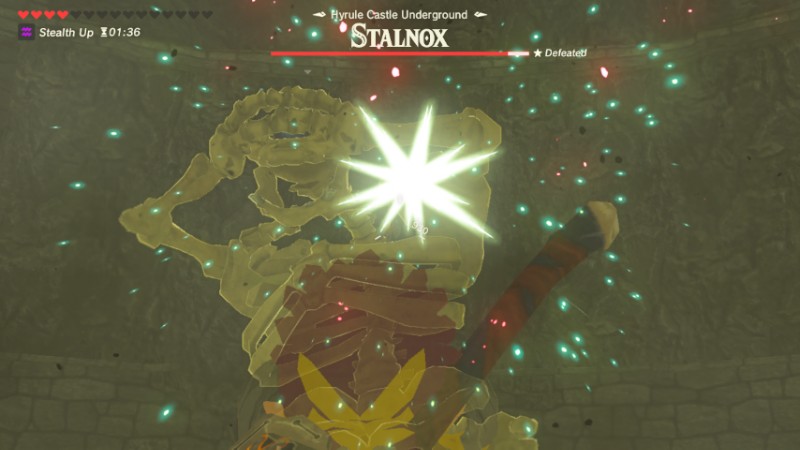
The Test of the Royal Guard?
Simply kill this mini-boss and you’ll have found the Hylian Sheild
This last thing is: the EASIEST way to climb Hyrule Castle is using Revali’s Gale to fly over a wall… then the rest ONLY needs the Zora Armor, you’ll easily swim up the Waterfalls and glide into the rivers surrounding the upper area. Once you get to the top, you’ll easily be able to reach the Sanctum.
This is the quick guide through Breath Of The Wild! If you follow this exactly, (without using my extra suggestion… ) you’ll be doing a minimalist’s run (though, you don’t even need to Speak to Impa to get the Master Sword, nor need it to defeat Ganon) everything here is what I and other people wanted but couldn’t get a guide to help us get it. If you need anything else please ask, I’ll try almost anything (except the Korok locations ) See yaaaaaaa!